

How to Color White Chocolate Without It Seizing
|
Time to read 10 min

Need anything else? Grab one of these to complete your purchase.
|
Time to read 10 min
White chocolate is the blank canvas of the pastry world, and coloring it looks simple until the first drop of the wrong dye turns a smooth bowl into grainy cement. Here is what works, and the one mistake that ruins it in seconds.
Coloring white chocolate comes down to a single rule: keep water away from it. Use an oil-based candy color or a dry powdered color, add it a little at a time while the chocolate is warm and melted, and stir until the shade is even. That is the whole method. The reason most first attempts fail is that the standard food coloring in every grocery store baking aisle is water-based, and water is the one thing melted chocolate cannot tolerate.
Get that part right and the rest is easy. Get it wrong and there is usually no fixing it. So before we cover shades, marbling, and the working tricks that keep a production run moving, it helps to understand why chocolate is so fussy about moisture in the first place.
Melted chocolate is a suspension of dry particles, sugar and cocoa solids, held in a smooth film of fat. Introduce even a few drops of water and those dry particles clump together around the moisture, dragging the whole mass into a thick, grainy paste. Bakers call this seizing. Once it happens, the glossy pourable chocolate you had a moment ago becomes a stiff clump that will not spread, will not coat, and will not pour.
Here is the frustrating part. Seized chocolate does not go back. You can sometimes repurpose it by turning it into a ganache or a truffle filling with added cream, but for coating molds or painting details, that batch is done. This is why coloring white chocolate is less about artistry and more about discipline. Keep the bowl dry, keep steam out, and use only colorants with no water in them.
Reaching for a regular liquid or gel food color, the kind sold for buttercream and cake batter. Those are water-based. A couple of drops into warm white chocolate and it seizes on contact. If you only remember one thing from this article, remember that the coloring aisle at the grocery store is the wrong aisle for chocolate.
Two categories do the job, and a third can be engineered in a pinch.
Oil-based candy colors. These are formulated to disperse in fat, which is exactly what white chocolate is. Chefmaster candy colors come in squeeze bottles, ready to go straight into the melt. A drop or two at a time gives you real control, and the pigment tends to run bright. This is the option most professionals reach for because it is the least fussy.
Powdered food colors. Since there is no liquid in a dry powder, there is no seizing risk at all. Powders made for chocolate mix in cleanly with a bit of stirring, and a tiny pinch goes a long way. They are also the go-to when you want a deep, saturated tone without adding any volume to the chocolate. Sprinkle over the surface and stir thoroughly until the streaks disappear.
The DIY conversion. If all you have on hand is a water-based gel, you are not fully stuck. You can turn it into something chocolate-safe by mixing a small amount of gel thoroughly into about half a teaspoon of a neutral vegetable oil before it ever touches the chocolate. Commercial versions of this trick exist too, sold as color converters that bind the water-based pigment into an oil carrier. It is a workaround, not a first choice, but it has saved many a project when the right bottle was missing.
One thing to watch: the DIY oil conversion only works because the gel gets fully emulsified into the oil first. Dumping gel straight into chocolate and then chasing it with oil does not work. The pigment has to be carried by the fat before it meets the melt, or you are right back to a seized bowl.
The full process is short. What matters is the order and the temperature control, not any special skill.
Start by melting the white chocolate slowly. A double boiler works, with the bowl sitting above the water and never touching it, so no steam sneaks in. The microwave works too, in fifteen to thirty second bursts with a stir between each one. Slow is the whole game here. White chocolate scorches faster than dark because of its milk solids, so low and patient beats fast and hot.
While the chocolate melts, warm your colorant. This step gets skipped a lot and it matters more than people expect. A cold squeeze bottle of oil color dropped into warm chocolate creates a temperature shock that can thicken or seize the mix on its own, separate from any water issue. Sit the bottle in a bowl of warm water for a few minutes so the color roughly matches the chocolate. It is a small thing that prevents a big problem.
Then combine. Add the color a few drops or a small pinch at a time, stir gently until it is evenly worked through, and check the shade. Add more to deepen it. You can always go darker, but you cannot pull color back out, so build it up slowly. Once you hit the tone you want, the colored chocolate is ready to pour into molds, spread for bark, or use to paint details.
Not all white coating is truly white. Many run slightly yellow or ivory, which quietly shifts every color you add. A yellow base plus blue color gives you a muddy green, not the clean blue you pictured. If you are aiming for cool shades like blue, purple, or true pastels, start from the brightest, whitest coating you can get, or plan to fight the base tone with extra pigment.
Once you can color a single bowl reliably, the fun starts. Marbled chocolate shards are one of the most popular presentation pieces going right now, and they take about ten minutes of active work.
Melt and color three separate bowls in three different shades. Work fast here, because the moment chocolate starts cooling it stops flowing, and marbling needs it loose. Spoon dollops of each color onto a parchment-lined tray, letting the puddles touch and overlap. Give the tray a gentle shake to settle everything flat and knock out air bubbles. Then take a wooden skewer and drag it through the colors in loose swirls, blending just enough to marble without muddying them into one shade. Chill until set, then snap into shards.
That is the entire technique. The hard part is not the swirling, it is having all three colors melted and fluid at the same moment, which brings up the single best trick for anyone coloring more than one or two batches at a time.
Coloring one bowl is easy. Coloring six for a big decorating session, and keeping all six melted while you work, is where home cooks and even some pros lose the afternoon. The professional answer is a gentle, steady, water-adjacent heat source that never lets any bowl fully set.
A warming tray, a low oven with the door cracked, or a wide pan of barely-warm water can all hold small containers of colored chocolate in a fluid state for hours. The key word is gentle. You are holding temperature, not cooking. And if you are using any kind of water bath to keep things warm, this is exactly where seizing sneaks back in, because now there is warm water sitting inches from open bowls of chocolate.
The water-bath trap: when you lift a jar out of a warm-water holding bath, hold a towel under it so no drip lands in your other colors. If water does splash into a bowl, scoop it out immediately. Do not stir it in and hope, because stirring is what spreads the moisture through the batch and locks in the seize.
One choice shapes everything else: what you are coloring in the first place. There are two very different products people call white chocolate, and they behave differently under color and heat.
| Consideration | Real White Chocolate | White Compound Coating |
|---|---|---|
| Fat base | Cocoa butter | Vegetable oils (palm, etc.) |
| Tempering | Required to set hard and glossy | None needed, melt and use |
| Ease for coloring | Trickier, must hold temper while you work | Very forgiving, stays workable |
| Flavor | Richer, true cocoa butter taste | Sweeter, mild vanilla note |
| Best for | Premium confections where flavor leads | Molds, bark, painting, high-volume work |
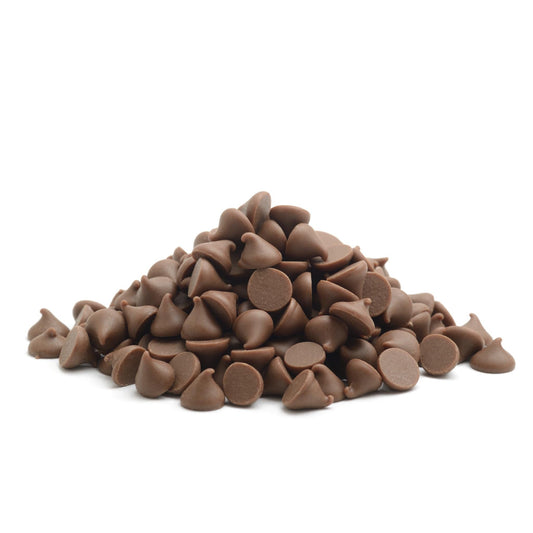
For most coloring and molding projects, compound coating is the practical pick. It melts, colors, and sets without the tempering dance, which is why it dominates in molds and bark and painted candy. Baker's Authority carries it in bulk, including Merckens Super White Chocolate Coating and the Merckens white chocolate coating wafers, both in wafer form for easy melting and portion control. If flavor is doing the heavy lifting and you are set up to temper, real white chocolate rewards the extra effort. For everything else, the coating gets you there faster with less that can go wrong.
The right approach shifts a little depending on what you are making. A few concrete cases:
Painting fine details into a candy mold. Powdered color or oil color, kept thin and warm, applied with a small brush. You want saturated pigment in tiny amounts so the detail reads sharp. Work in thin dabbed layers rather than long strokes, which go on streaky and see-through once set.
A big tray of marbled bark for a display case. Compound coating, three or more colors, all held warm at once on a gentle heat source. Speed is everything, so have every color melted before you pour the first dollop.
Deep red, black, or dark green. Start from colored wafers if you can buy them. These shades take an enormous amount of pigment to reach from white, and pushing that much color in can thicken the chocolate before you get there. Buying the shade pre-made saves product and frustration.
Bright pastels and cool blues. Start from the whitest coating available. An ivory base fights you the whole way, and pink and lilac tones in particular tend to fade over time, so pre-colored wafers hold up better for anything that sits on a shelf.
Most working kitchens keep both a set of oil colors and a few bags of pre-colored wafers on hand. The colors handle custom shades and detail work. The pre-made wafers cover the hard-to-mix tones and the high-volume jobs. Between the two, almost any project is covered without a seized bowl in sight.